So it’s time to get started using the Lab. I assume you are using the same layout as my second post on lab creation Moving Target. My development machine is actually a Windows 7 Virtual Machine with RSAT, MMF 4.0, and Visual Studio Ultimate. Being a virtual machine isn’t actually important, I personally use Windows 8.1, but to more closely match my present work environment I wanted to make sure I was running Windows 7 so my experience would more easily translate into my professional life. One other configuration I’ll note that I didn’t realize: install your copy of visual studio onto the build controller. This gives the build controller the correct software with which to compile whatever you make, which will save you troubleshooting why it doesn’t build in the beginning.
I’ve been working on getting my web application up and running the past few days called TFSWorkItemTracker. It’s pretty cool so far, I’ve implemented SignalR with AngularJS on an MVC5 application for near real time updates on a TFS server. I’ll later be using this application for an automated IIS deployment, so that I can push this application from development to production. I’ll note that since I have more experience as a Git user, I am using git as my version control in these exercises.
Lets get started! I would tell you to head to your empty TFS server and make a new Team Project to keep our code in. But in TFS 2013 update 4 they don’t have a new button for project collections, even if you hit the gear in the top right corner to bring up the TFS administration page. Instead, you have to use Visual Studio, so let’s do just that!
Open the Team Explorer and hit the plug to manage your TFS connections: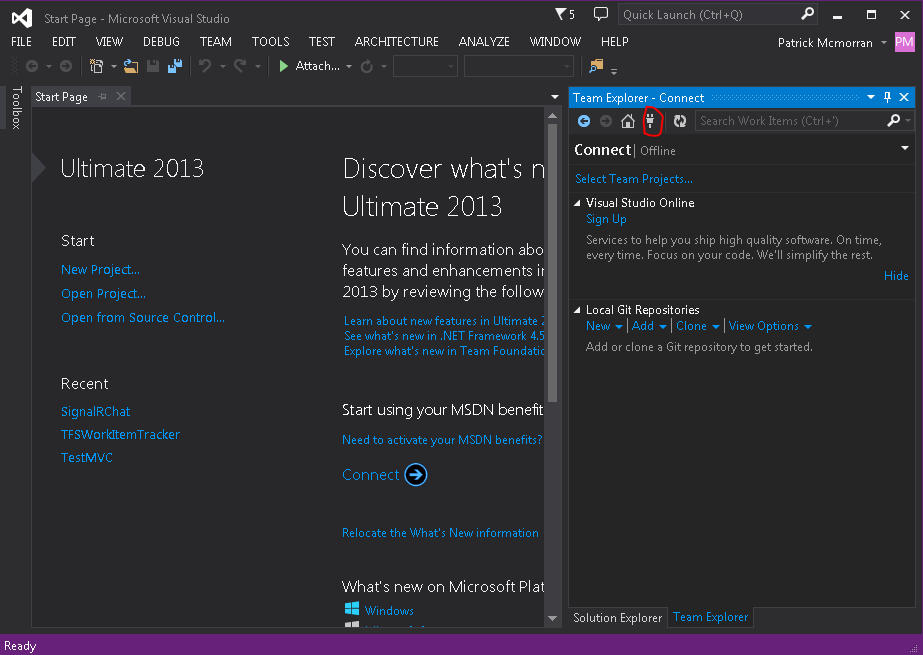 Click Servers to manage the TFS Server List:
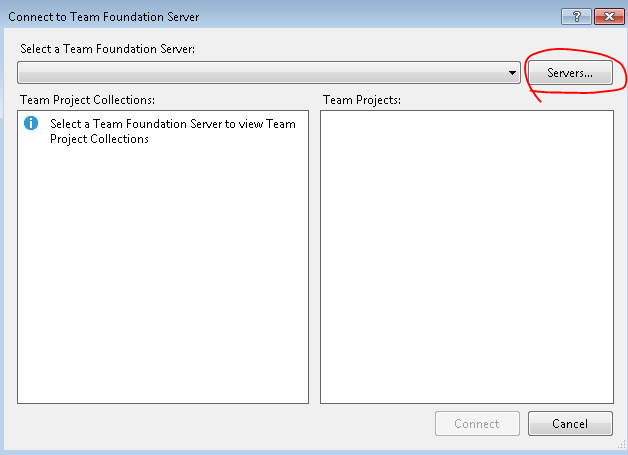 Click Add and enter the URL of your TFS server. The add server dialog will have all the default settings for TFS prefilled. If you customized the path or port number, be sure to correct it accordingly.
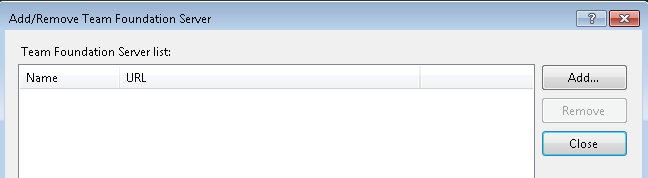
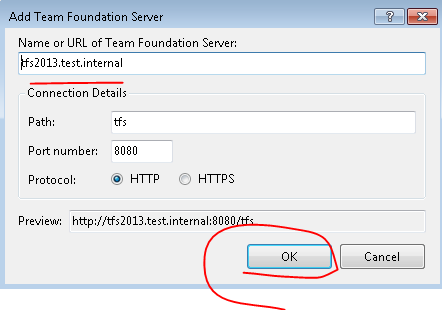 Hit OK and Close the dialogs. Now that the connection to TFS is set up, go to File->New->Team Project… and enter a name for your Team Project and hit next. If you are following along exactly, the use TSFWorkItemTracker.
 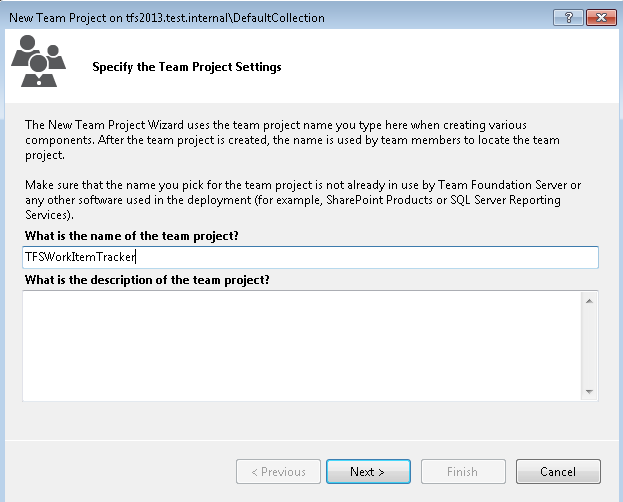 I’m a Scrum fan, so I stuck with that. But you can use whatever process template works for you (or in the future we may make one.)
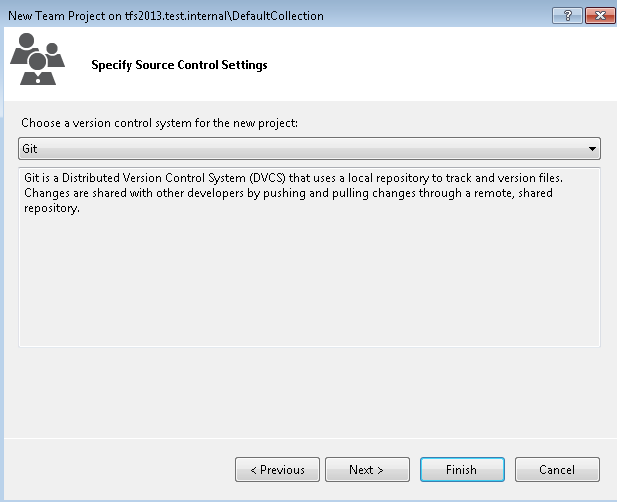
 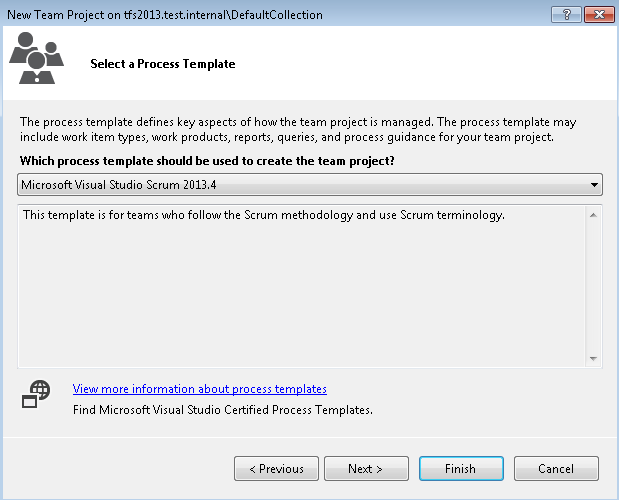 Then select Git as your Version Control System (again to match what I am doing) and hit Finish to skip the confirmation page.
 Then Visual Studio will work on fabricating your project, usually taking a few moments in my experience. If you have Sharepoint integration this could take longer.
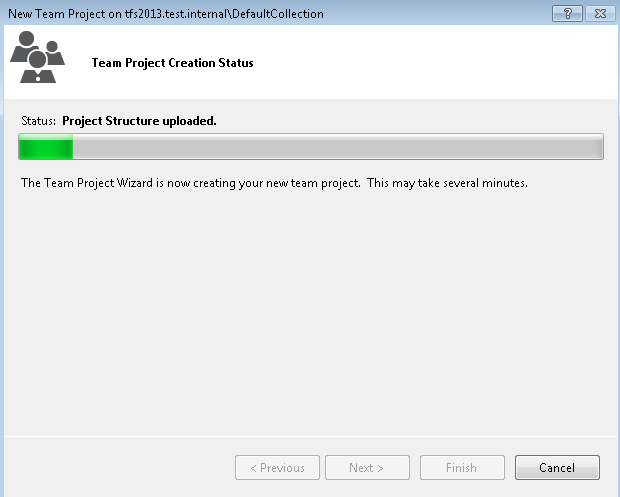 Now hit the plug to get back to the connections page:
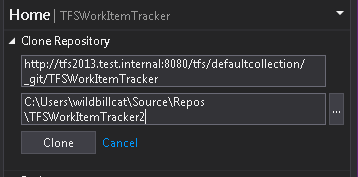
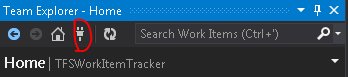 Click clone on local git repositories and enter the path to a git repo you want to work on. (I selected my own). Then click clone.
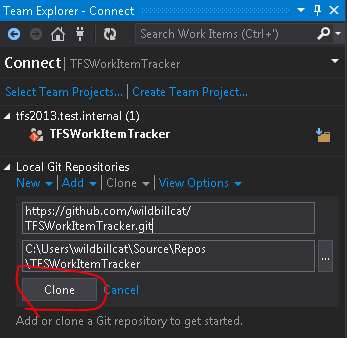 Once it is done cloning, double click the project under local repositories:
![]() Click changes, then select open command line:
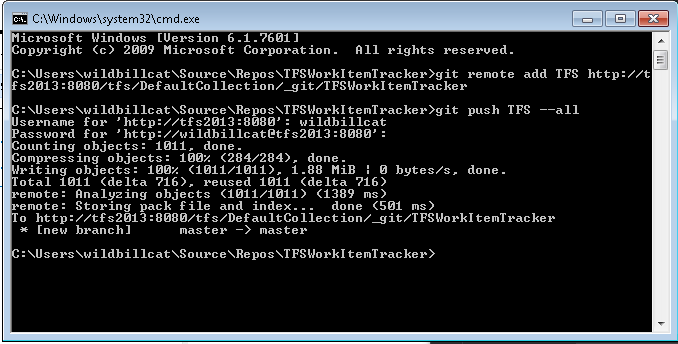
Click changes, then select open command line: 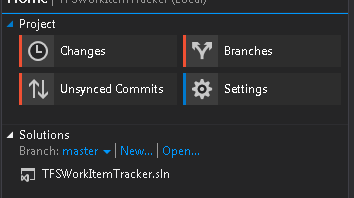 In the command line add the TFS server to the git remotes and push the repo up onto the server.
Now click the plug and open the TFS project: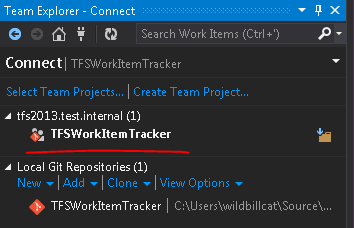
Finally hit clone this repository and your ready to start building and deploying it.
 Now doing all the screenshots for all this was pretty tedious, so I think in future installments I’m going to rethink the format. Stay tuned.